
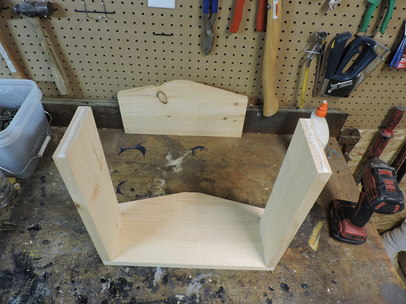
Roof assembly
We offer hives both assembled or unassembled at a lower cost. For those who choose unassembled, step by step instructions are provided below.
|
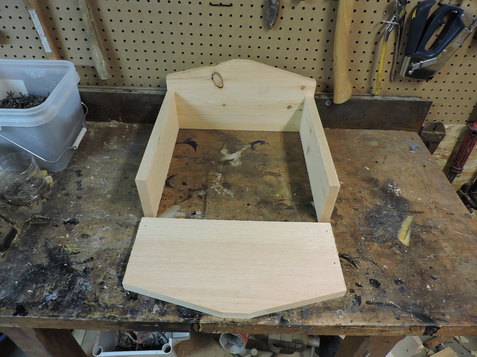
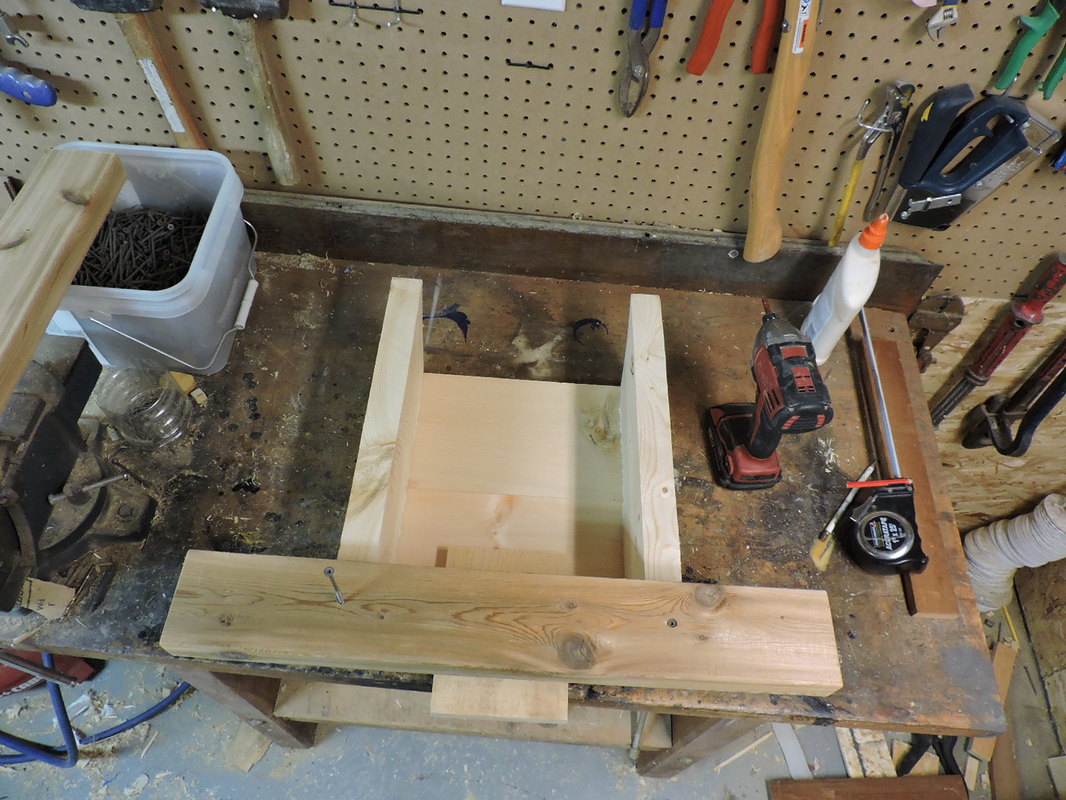
Lay out the roof pieces as shown. It will help if you have a wall behind your bench. |
|
Apply glue to the 1st end board as shown on both sides. |
|
|
|
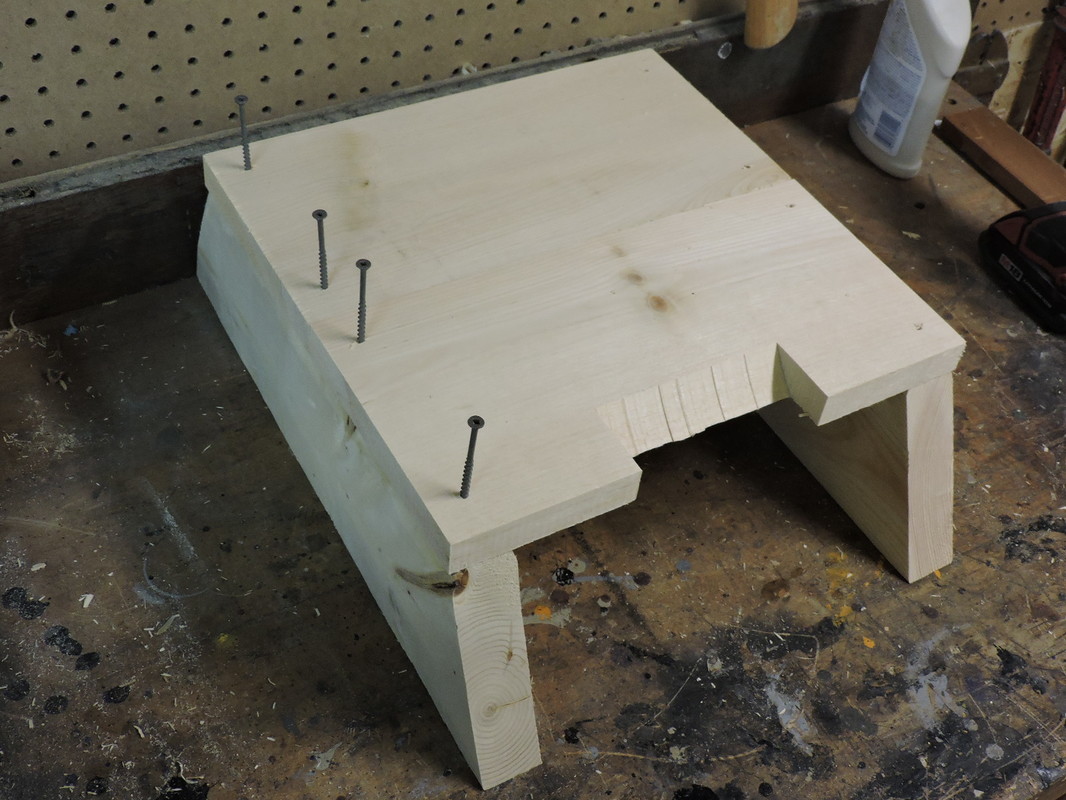
Flip the 3 pieces up as shown. Adjust the alignment of the 2 side boards and then install a 2.5" screw in each lower hole. |
|
Flip the 3 pieces 180 degrees. Then, apply glue to the 2 side boards. |

|
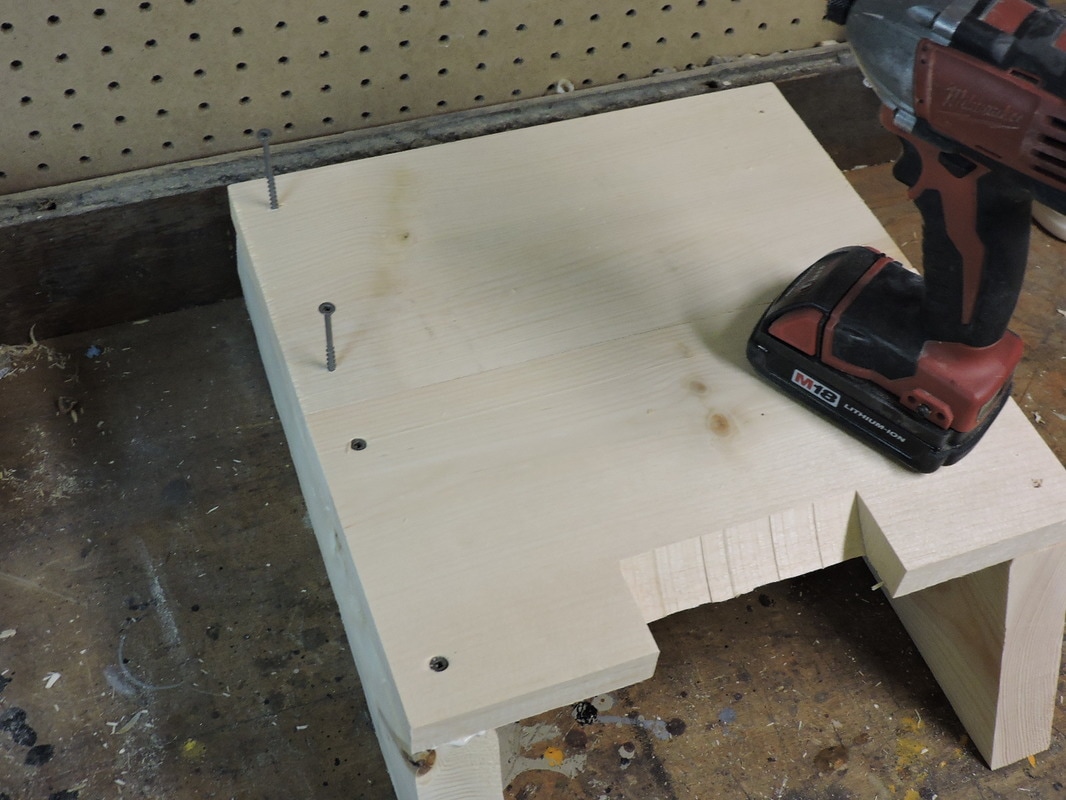
Line the 2nd end board up with the 2 side boards and install a 2.5" screw in each hole. |
|
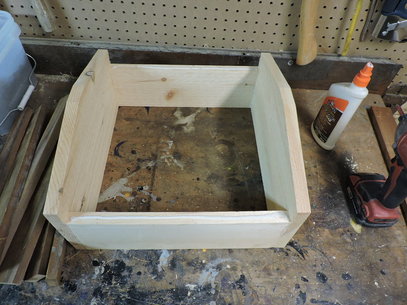
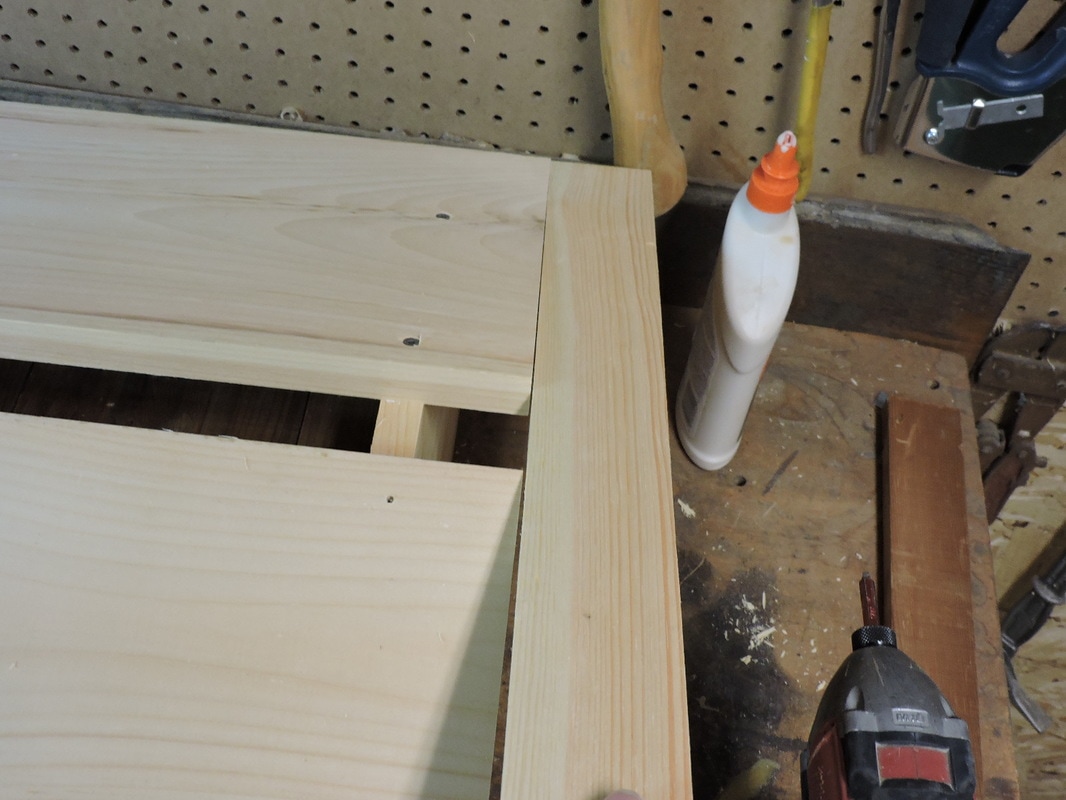
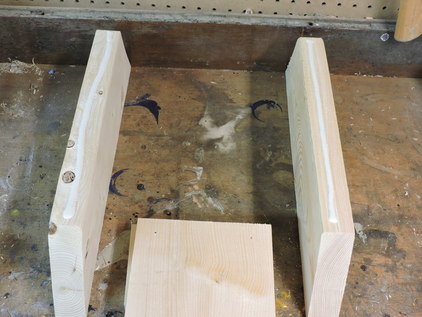
Reposition as shown and apply glue to the top edge of the 2 side boards. |
|
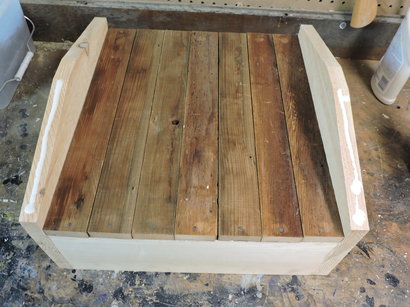
Lay the mouse boards across the side boards. Space them out so that you have an even gap between each board. These gaps are there for ventilation. Note that the mouse boards can differentiate in width so the number of boards supplied takes this into consideration. |
|
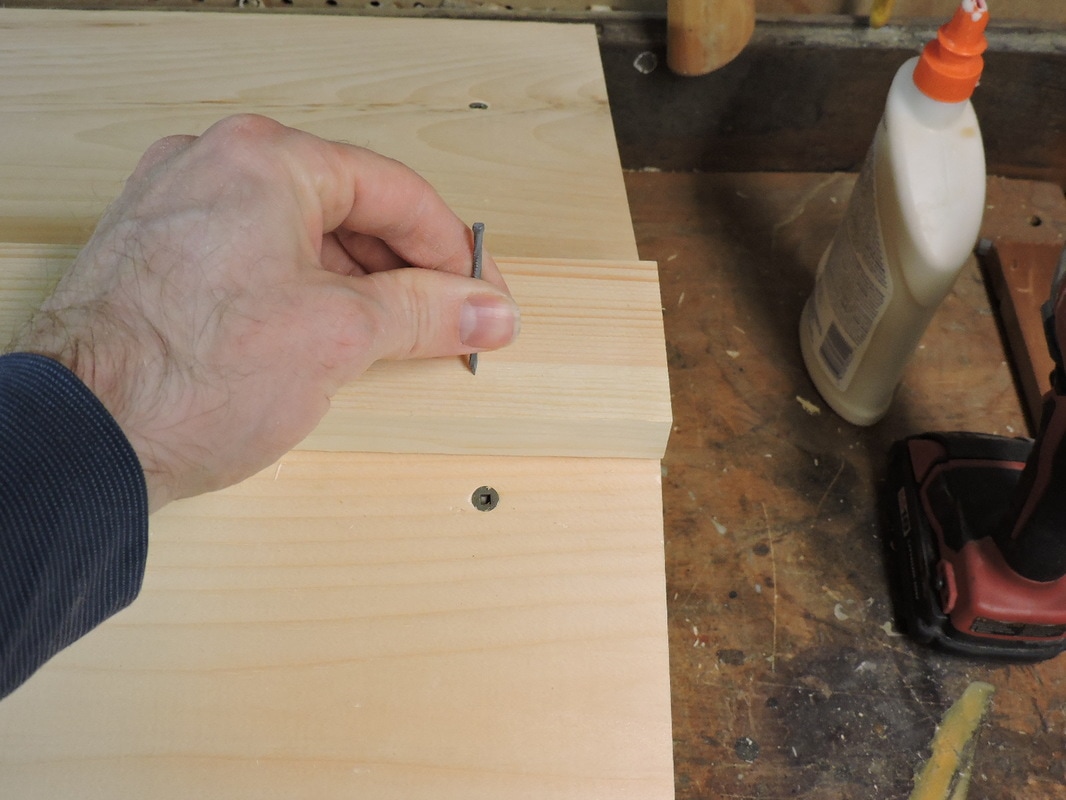
Install a 1.5" nail in the end of each mouse board. Wider boards should have 2 nails in each end. |
|
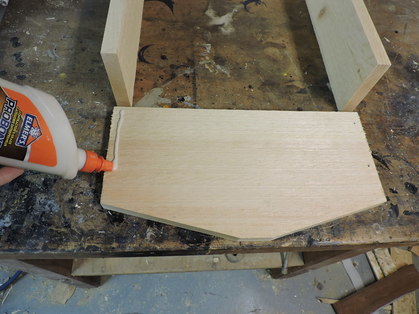
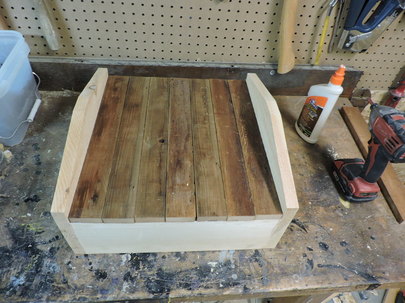
Apply glue to the top edge of half of each end board as shown. |

|
Position a roof board over the glued side as shown. Line up the to edge of the rood board with the end of the flat section on the end board. Also line up the screw holes with the end boards. |
|
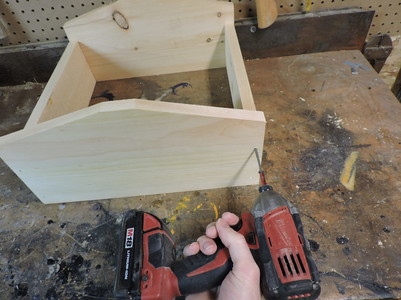
Install a 2.5" screw in the top 2 holes first then the lower 2 holes. |
|
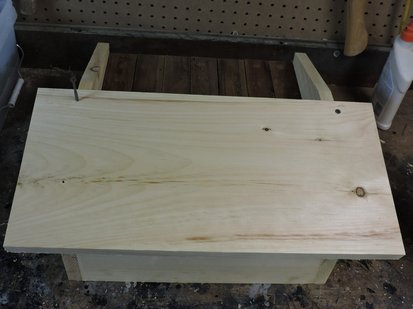
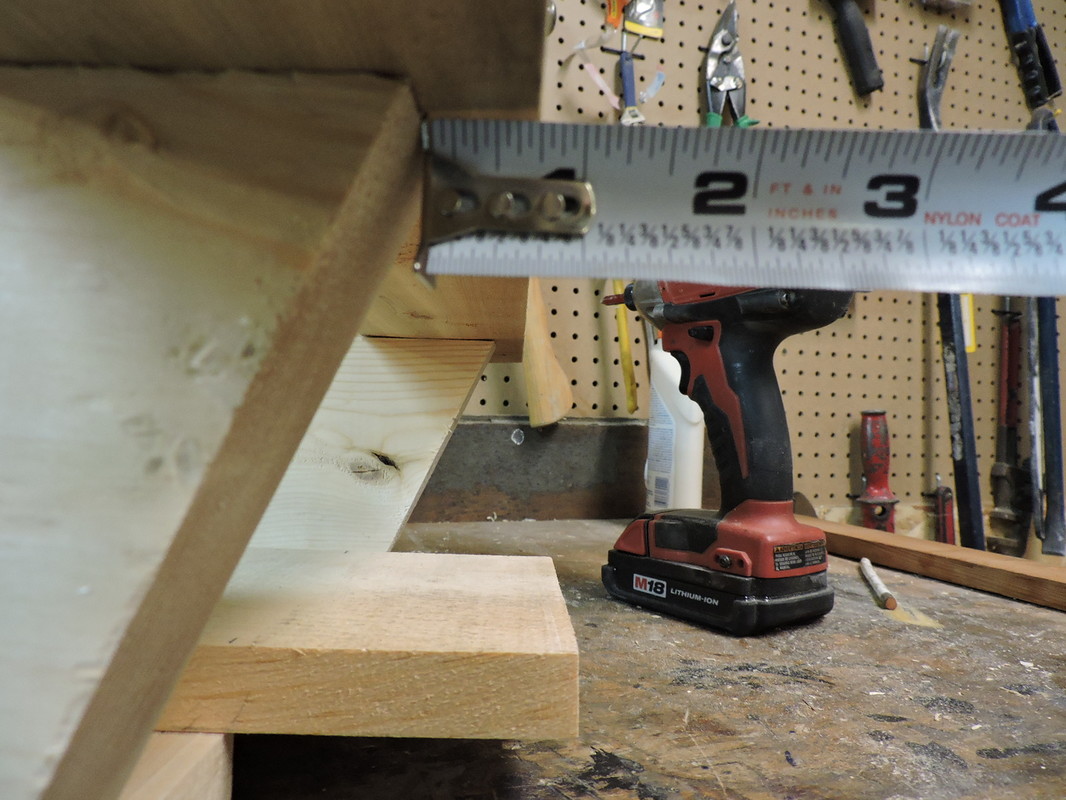
Repeat the above 3 steps for the other side. Use a straight edge as shown to line up the end of each roof top. |
|
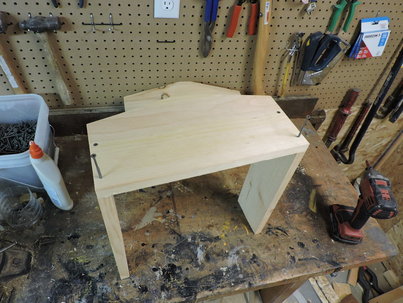
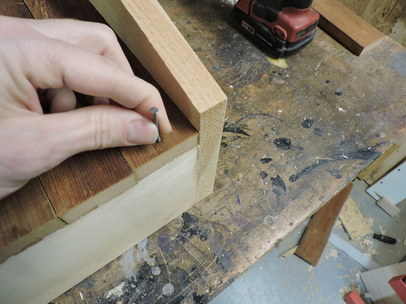
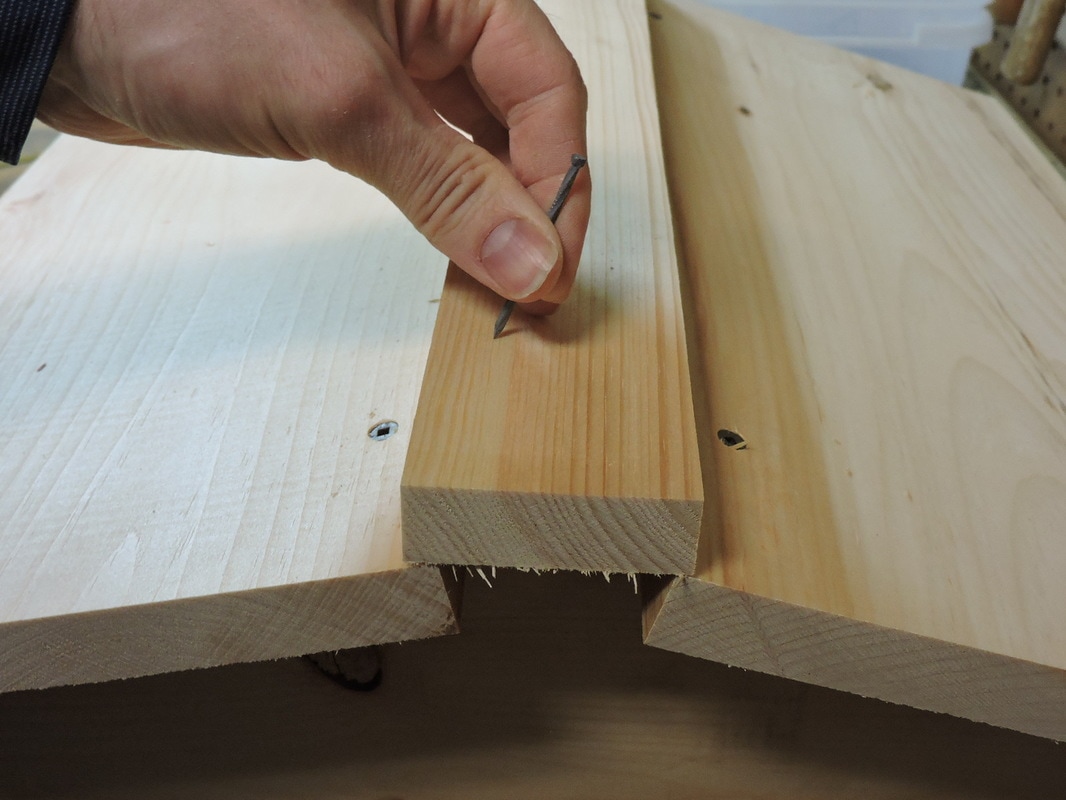
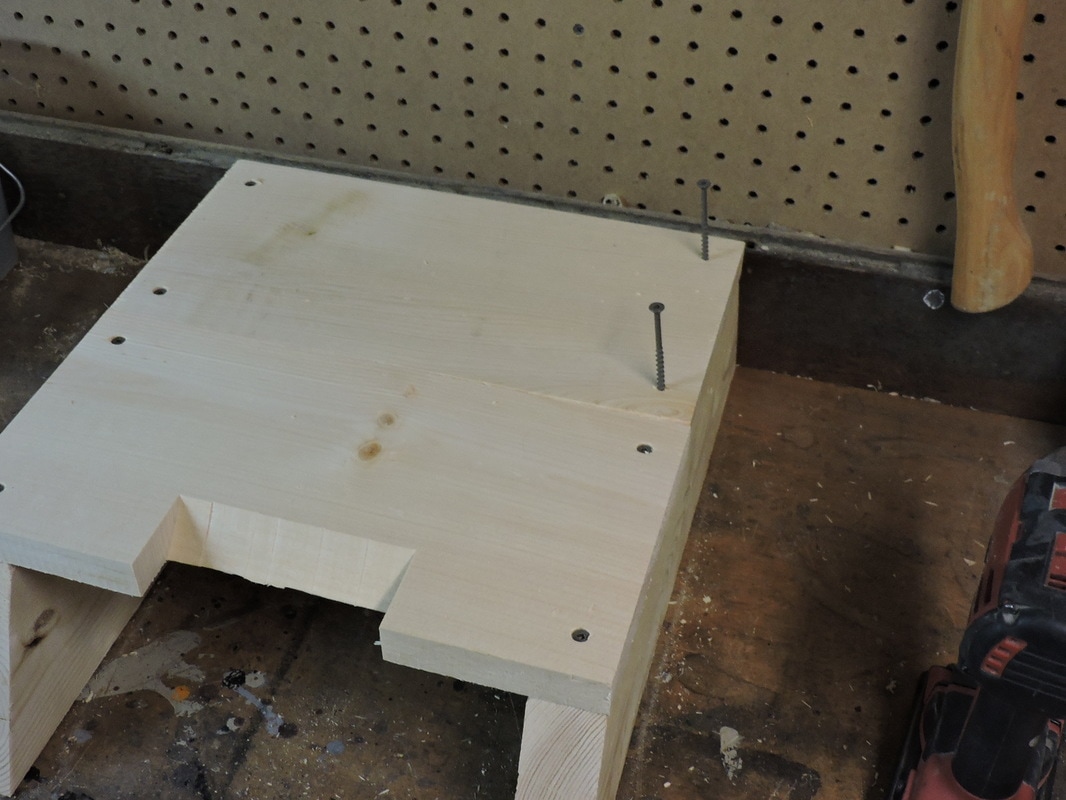
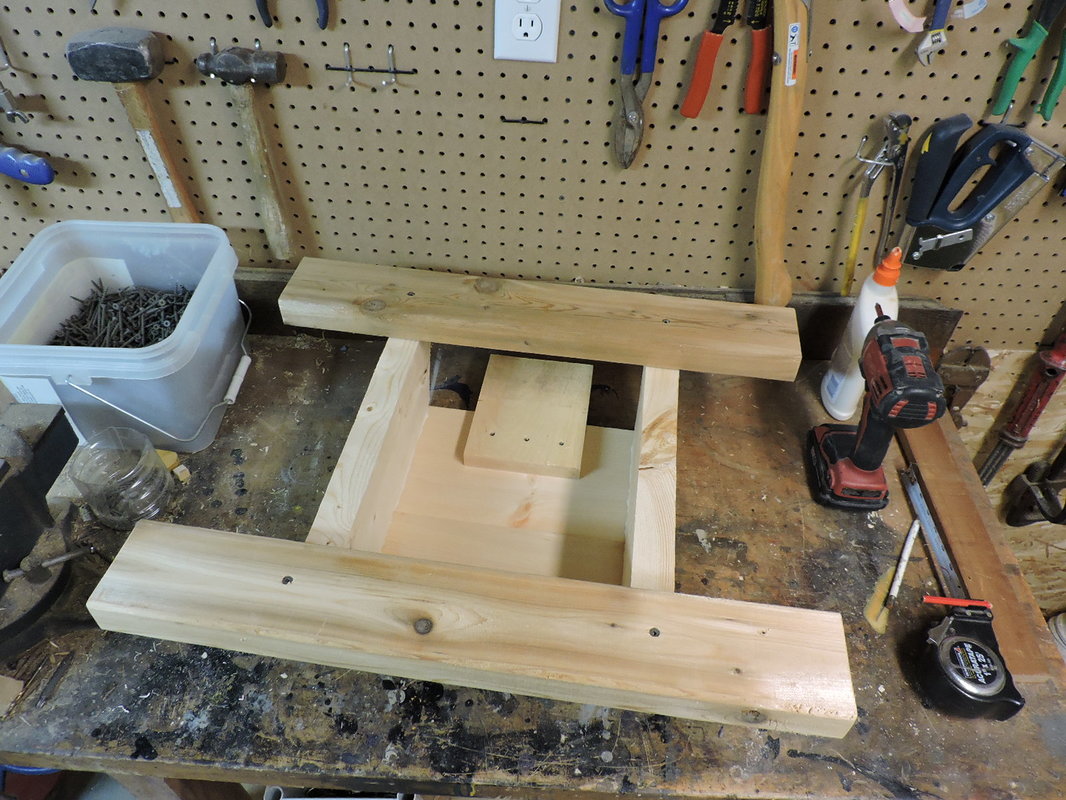
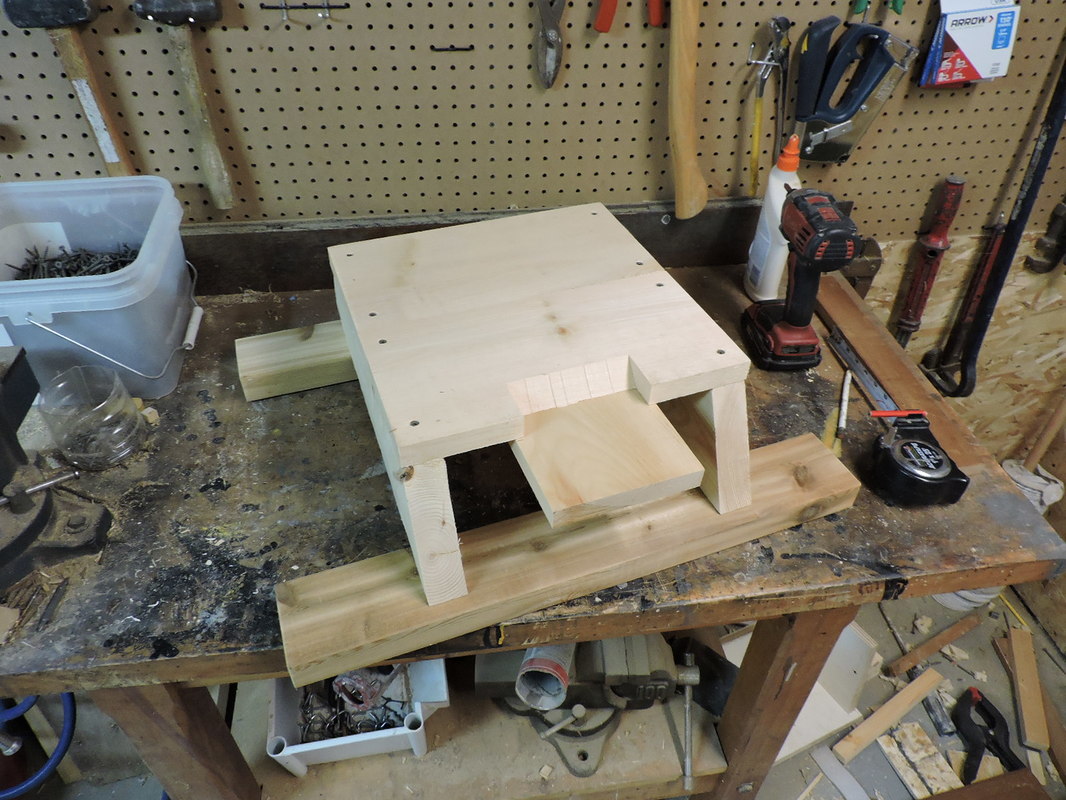
Install the center rail. Line it up evenly with both sides then install a 1.5" spiral nail on an angle through the roof board and into the end board. |
|
Offset the nail slightly from where the screw is installed to avoid hitting the screw. Repeat this on the opposite side and at the other end. After this, the roof is complete! |
Floor Assembly
|
Obtain the floor riser boards. Match the width between them to the width of the floor boards and then apply glue to the top of the risers. |
|
Place the 2 floor boards on top of the riser boards. Align the sided edge of the floor boards with the edge of 1 of the riser boards. |
|
Then install the 4 2.5" screws into the 1 riser board completing 1 floor board first. |
|
Line up the floor boards with the edge of the 2nd riser board and install 4 2.5" screws. |
|
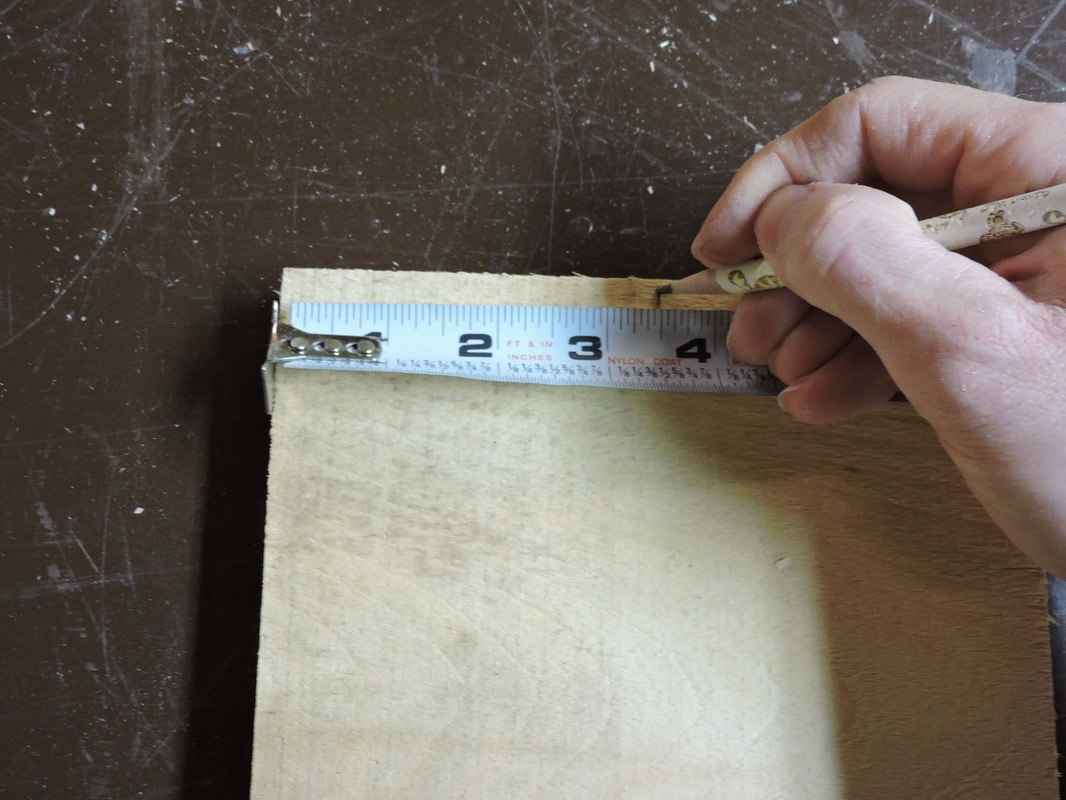
Make a line 3.5" along the long edge of the entrance board on each side. |
|
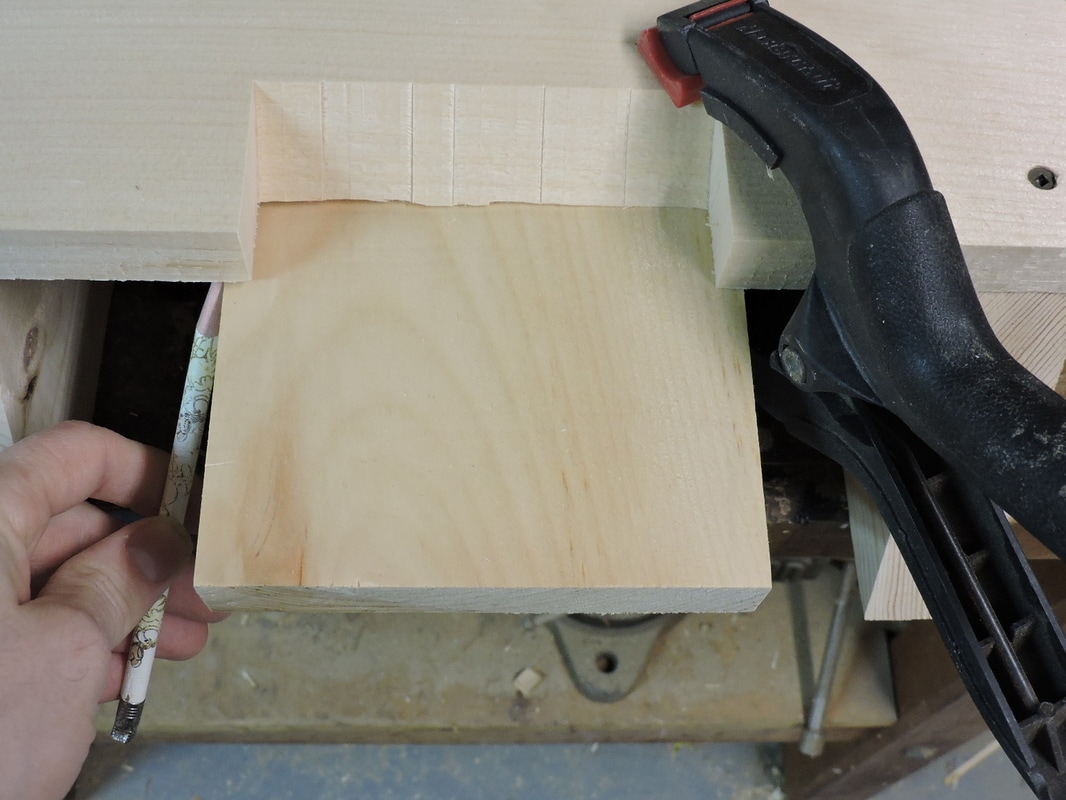
Now visually center the entrance board with the entrance cut out and make a pencil mark on the bottom side of the floor board on each side of the entrance board. Clamp not required. |
|
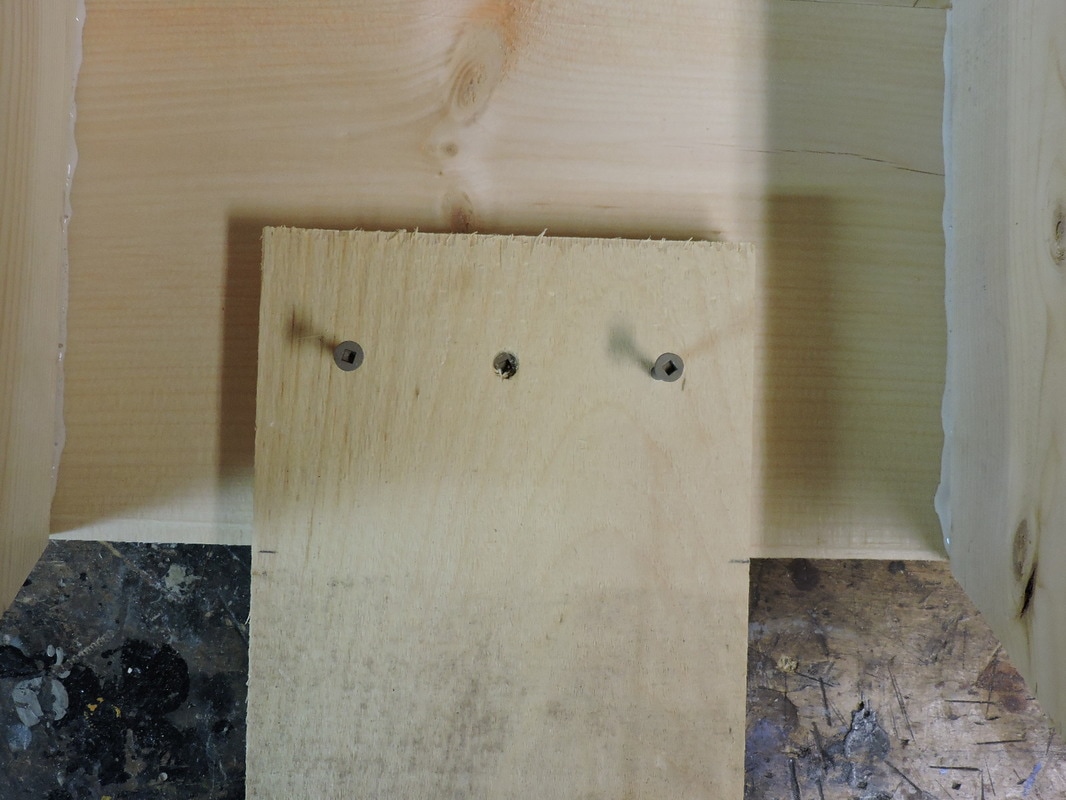
Now flip the floor over, line up the 3.5" pencil marks on the entrance board with the edge of the floor board. Also line up the entrance board with the pencil marks on the floor board. Then install 3 1.5" screws, as shown, to fix the entrance board in place. |
|
Now center the cedar foot board with the riser boards. |
|
|
|
Then install 2 3" screws into the foot board and repeat on the other side for the 2nd foot board. |
|
The floor is now complete! |