
Regular hive box assembly instructions
We offer hives both assembled and unassembled at a lower cost. For those who choose unassembled, step by step instructions are provided below.

|
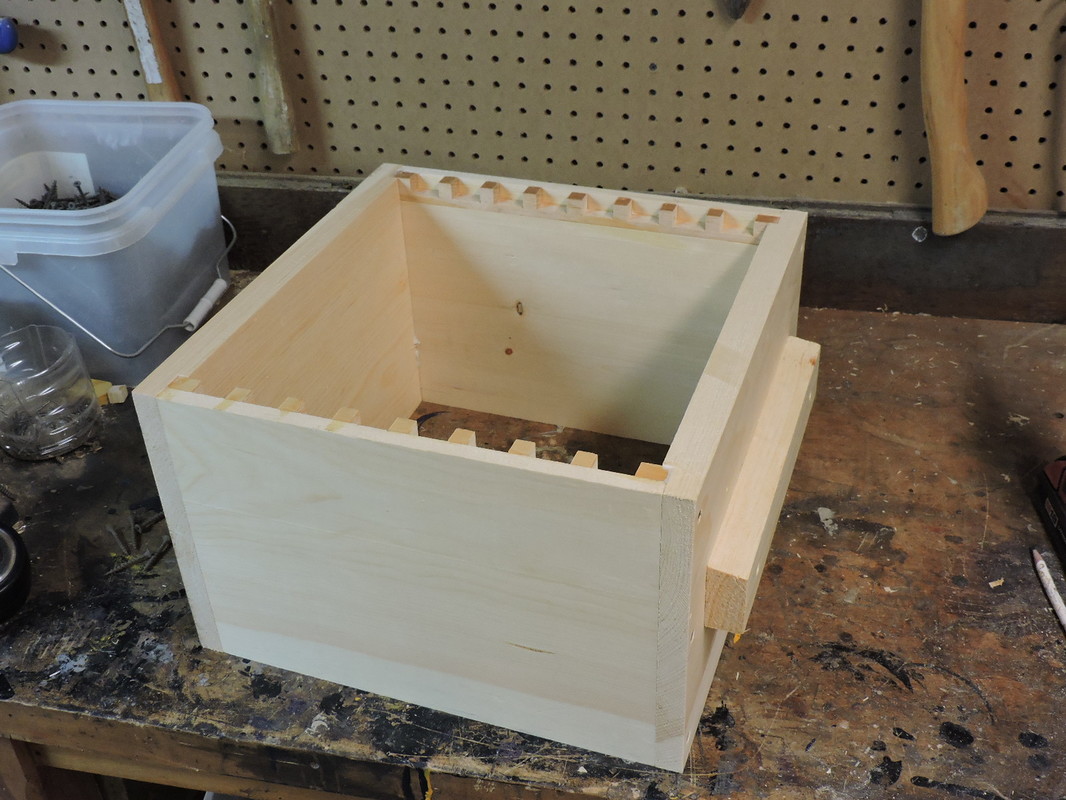
Obtain the following components from your shipping box. It will help if you have a wall behind your bench. You will require a drill/driver with a #2 Robertson bit. |

|
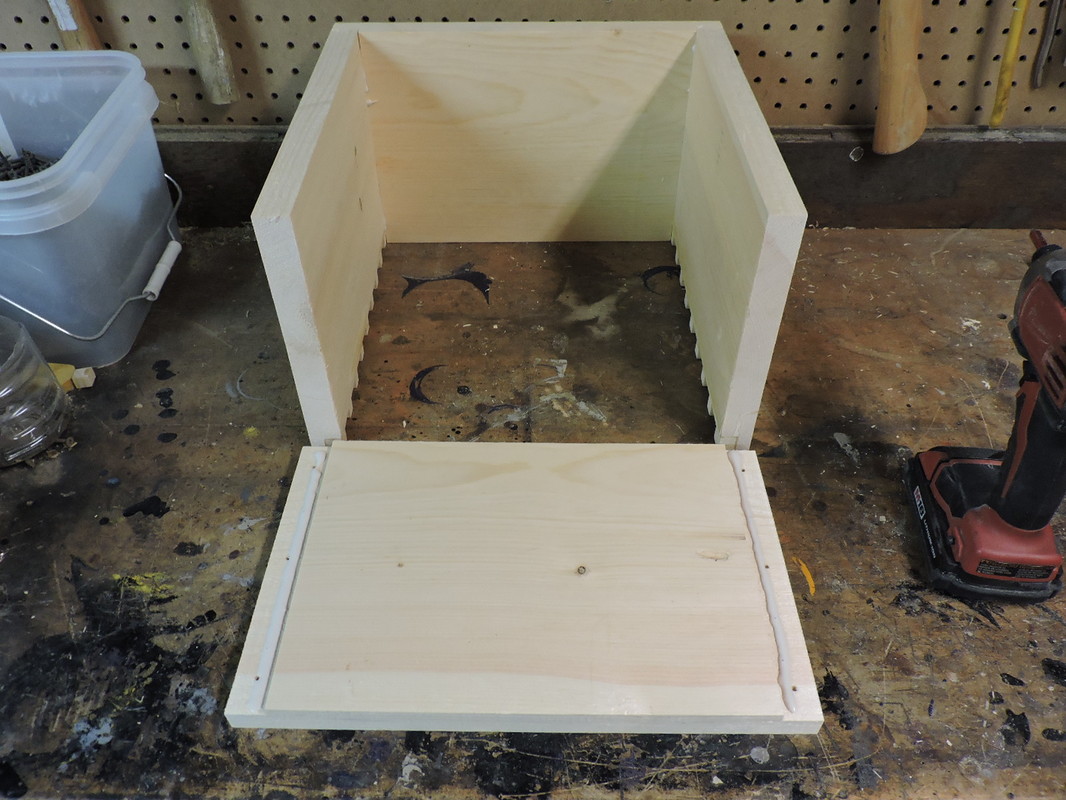
Place the rear wall with the top bar notches facing down and butted up against a wall or lip on the bench as shown. Apply glue to the side board as shown. |
|
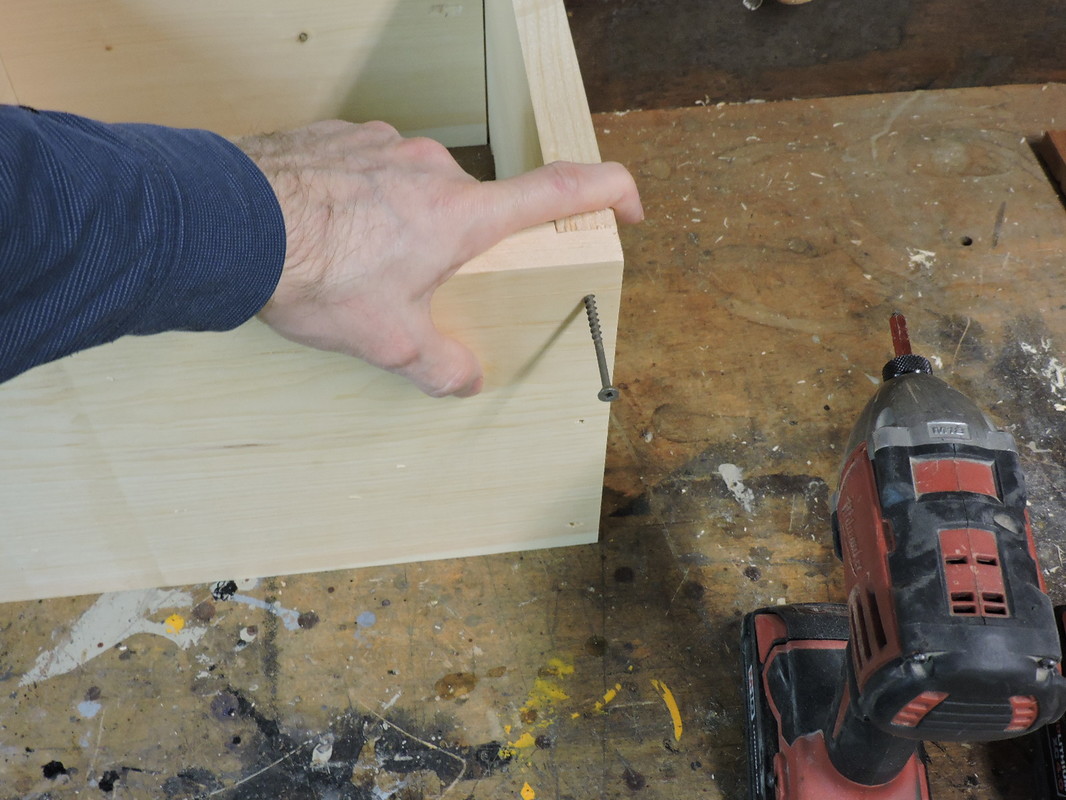
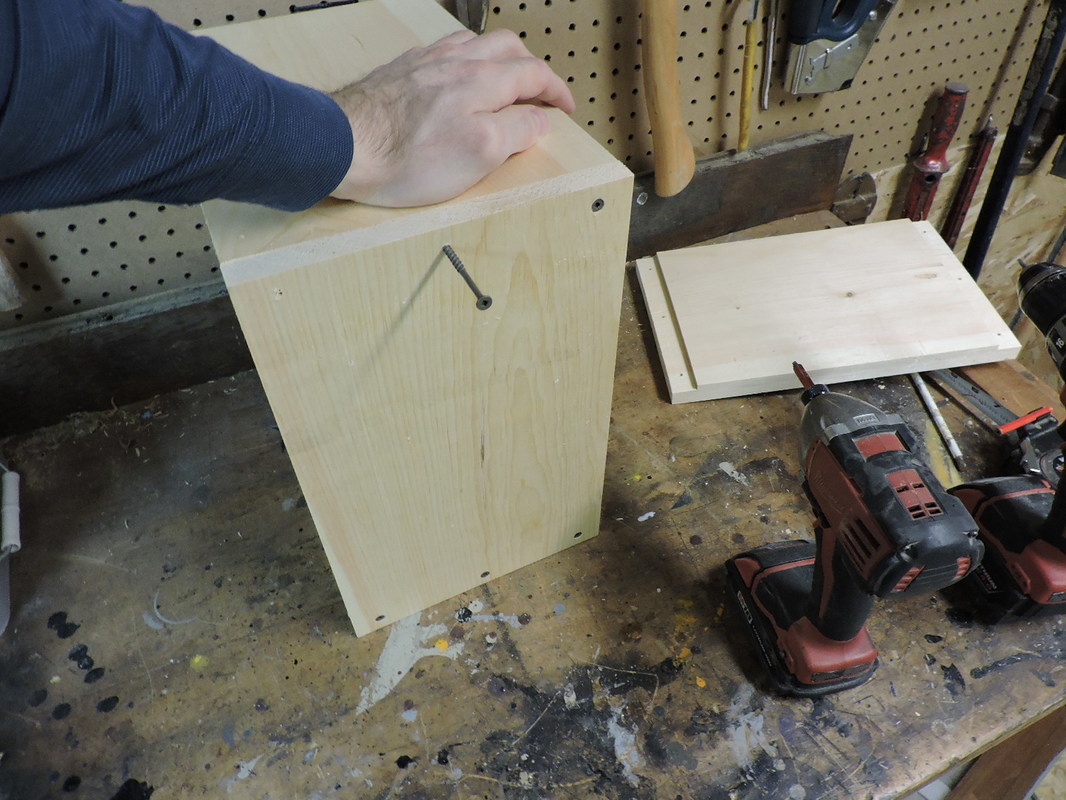
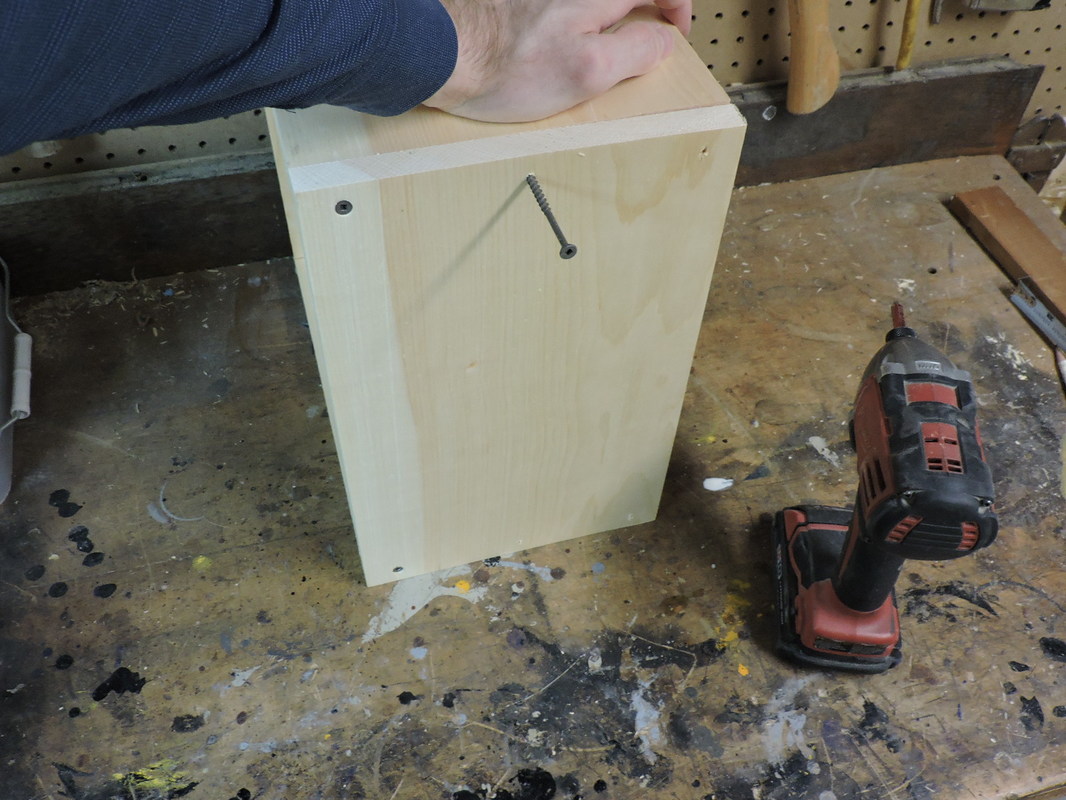
Flip up the side board and install a 2.5" screw in the top hole. Ensure the height of both boards are aligned properly and the end board is properly seated in the undercut of the side board. Apply pressure to each board while installing the screw to prevent the boards from shifting. |
|
Install a 2.5" screw in the top hole of the other side. Ensure the height of both boards are aligned properly and the end board is properly seated in the undercut of the side board. Apply pressure to each board while installing the screw to prevent the boards from shifting. |
|
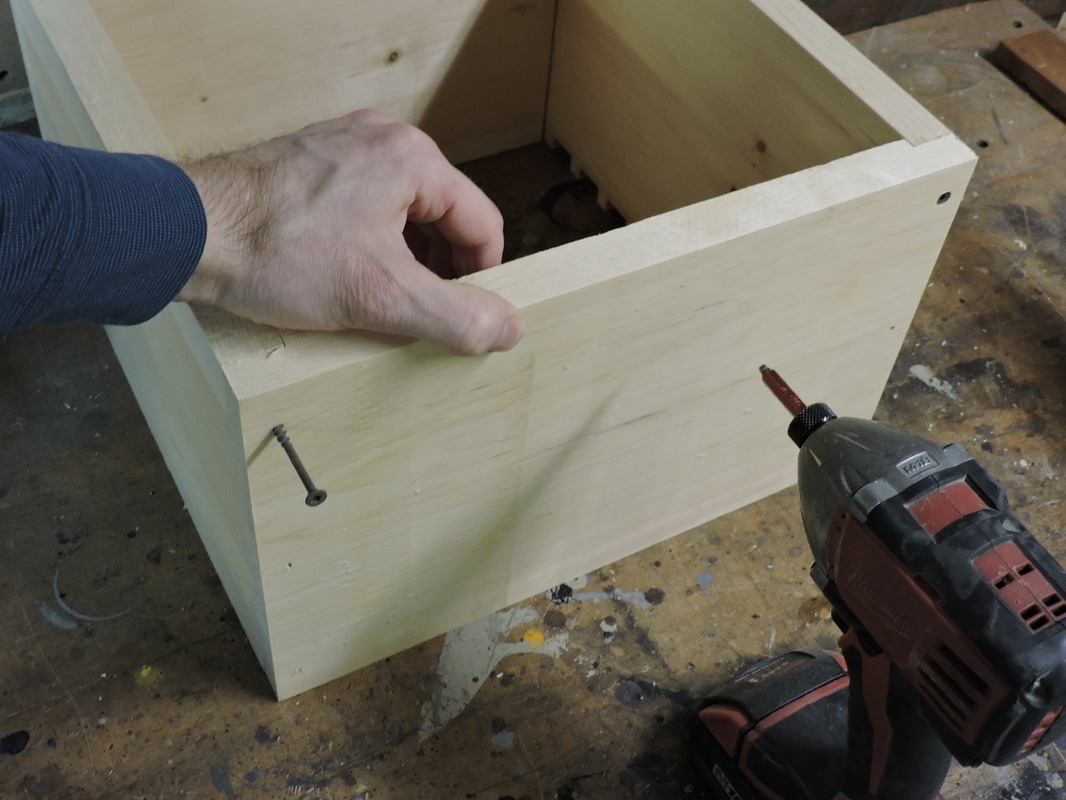
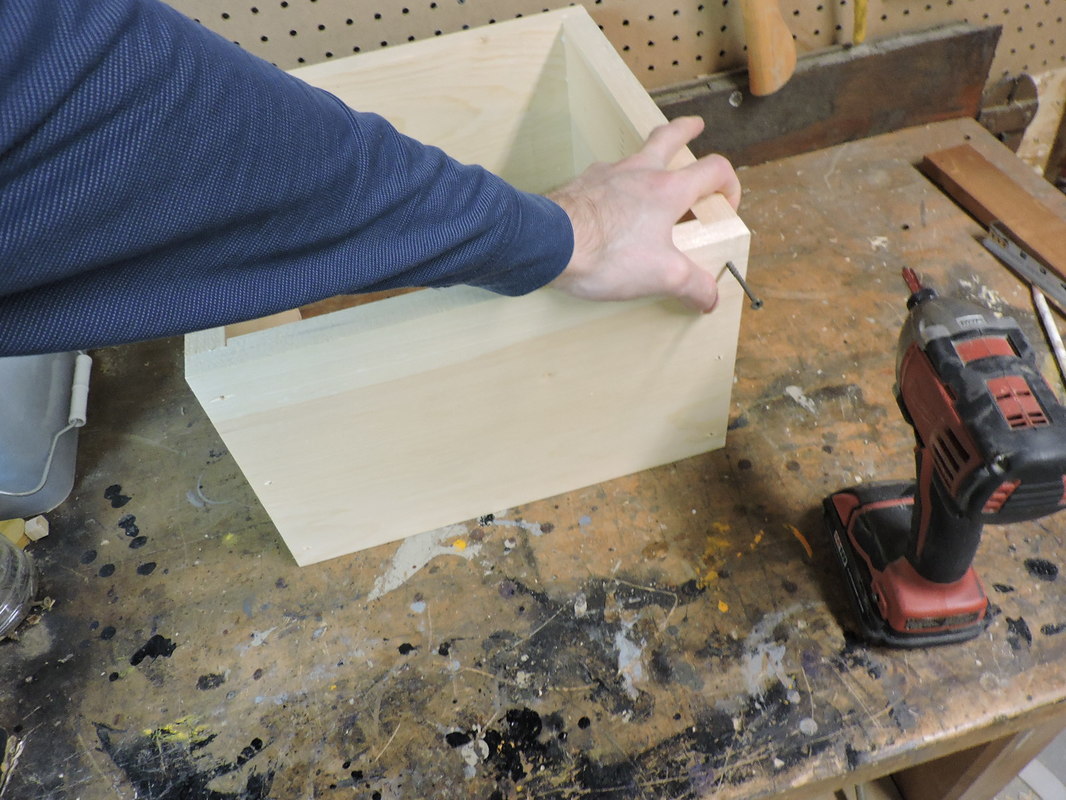
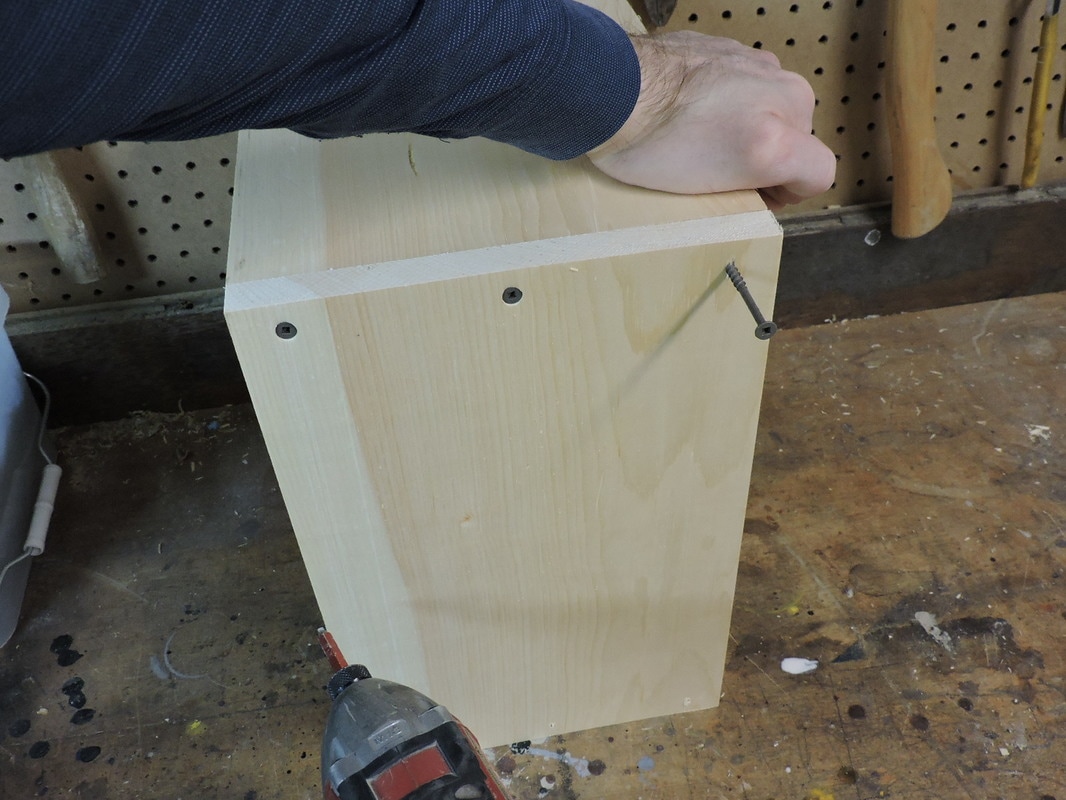
Apply top pressure while installing a 2.5" screw in the middle hole. The pressure will straighten out any warping in the end board. |
|
Install a 2.5" screw in the 3rd hole, again applying top pressure. |
|
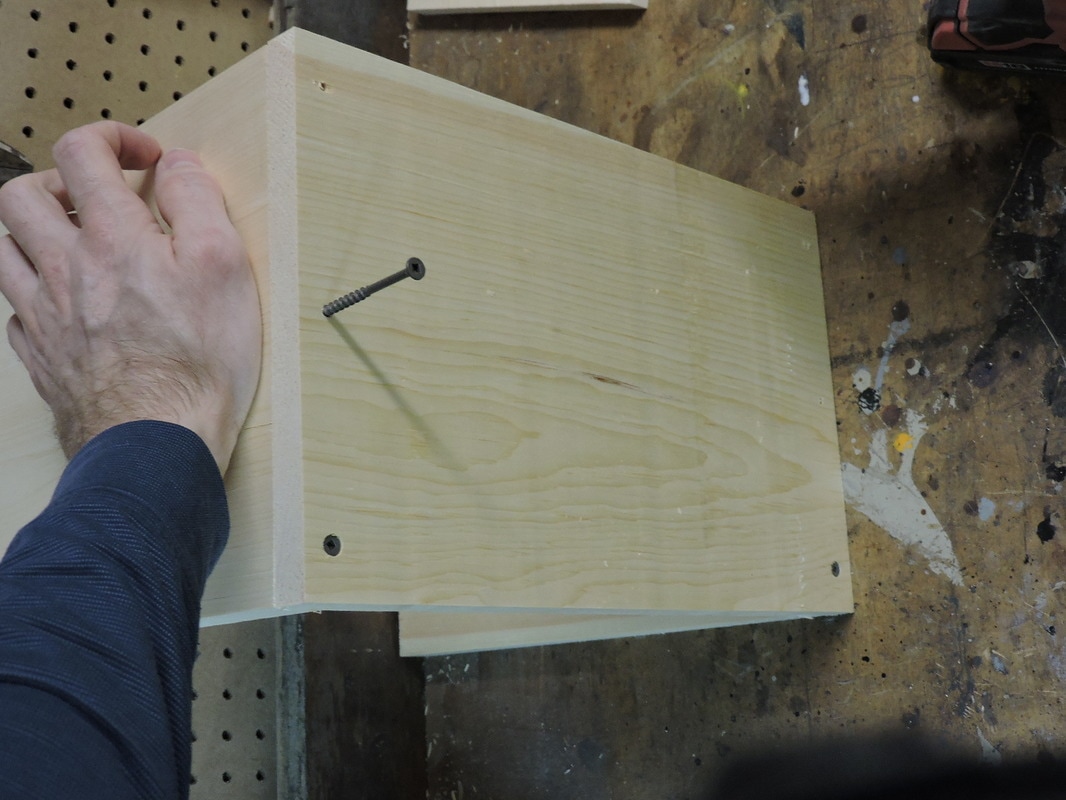
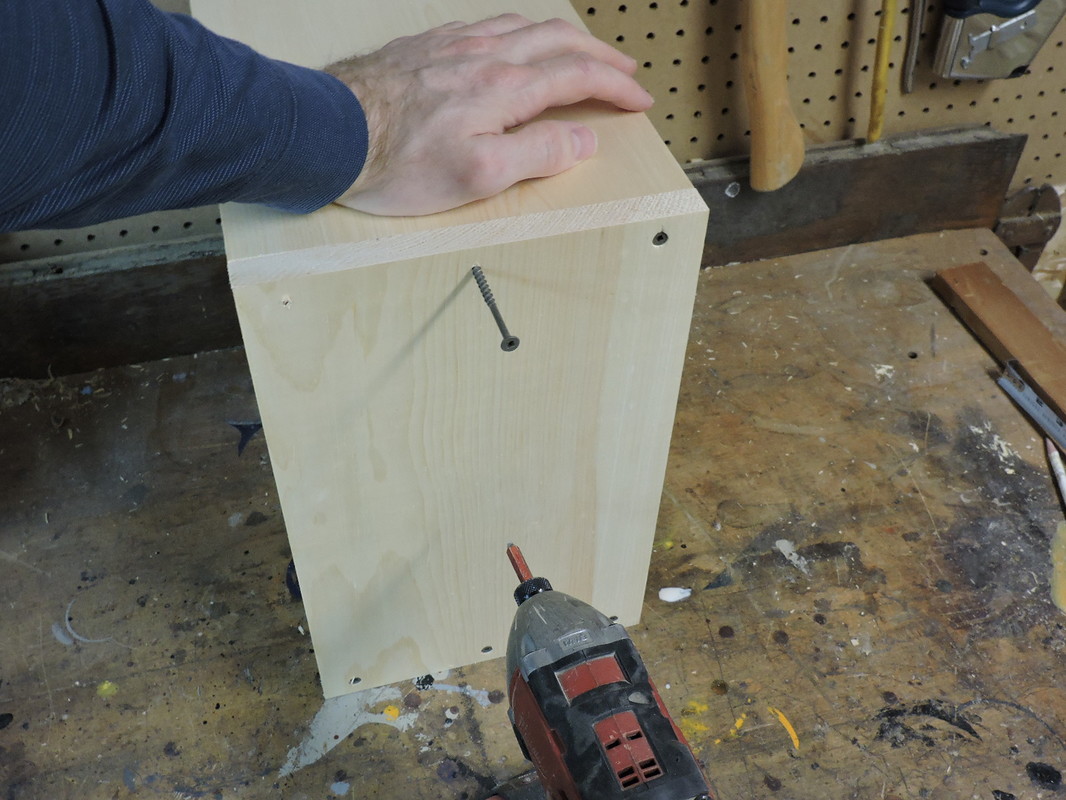
Flip the 3 pieces 180 degrees and install a 2.5" screw in the middle hole while applying top pressure. |

|
Install a 2.5" screw in the 3rd hole, again applying top pressure. |
|
Apply glue to the undercuts of the other end board |
|
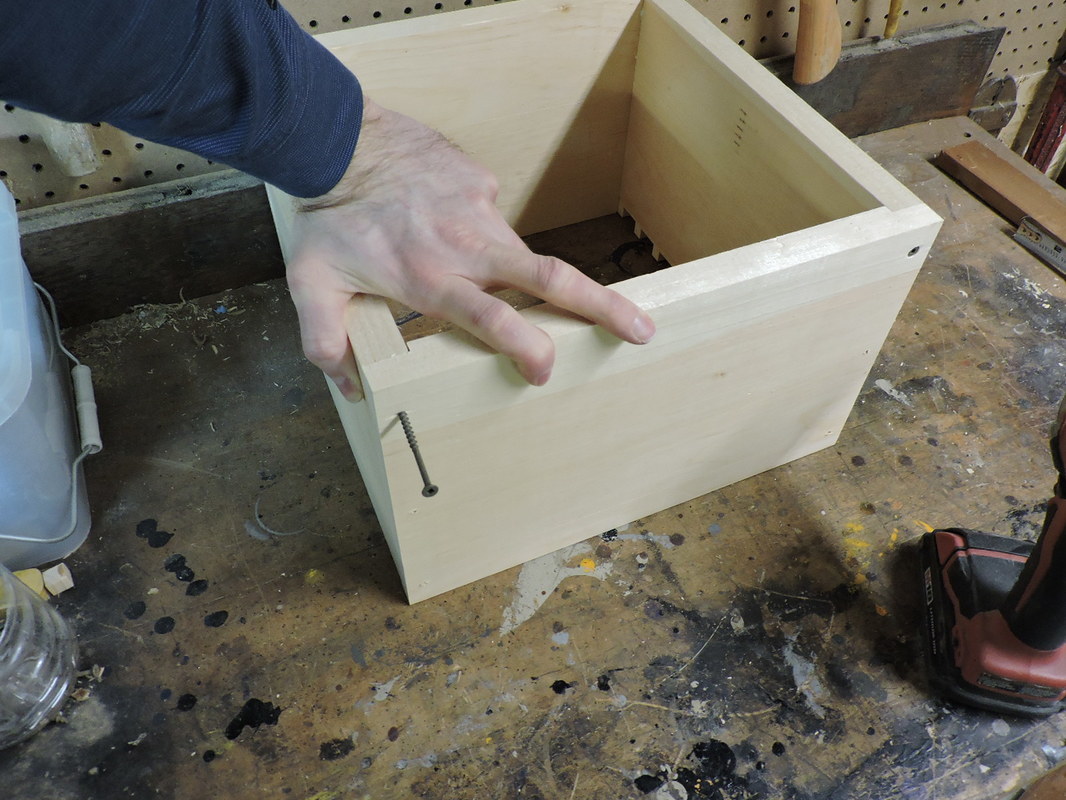
Flip up the side board and install a 2.5" screw in the top hole. Ensure the height of both boards are aligned properly and the end board is properly seated in the undercut of the side board. Apply pressure to each board while installing the screw to prevent the boards from shifting. |
|
Install a 2.5" screw in the top hole of the other side. Ensure the height of both boards are aligned properly and the end board is properly seated in the undercut of the side board. Apply pressure to each board while installing the screw to prevent the boards from shifting. |
|
Apply top pressure while installing a 2.5" screw in the middle hole. The pressure will straighten out any warping in the end board. |
|
Install a 2.5" screw in the 3rd hole, again applying top pressure. |
|
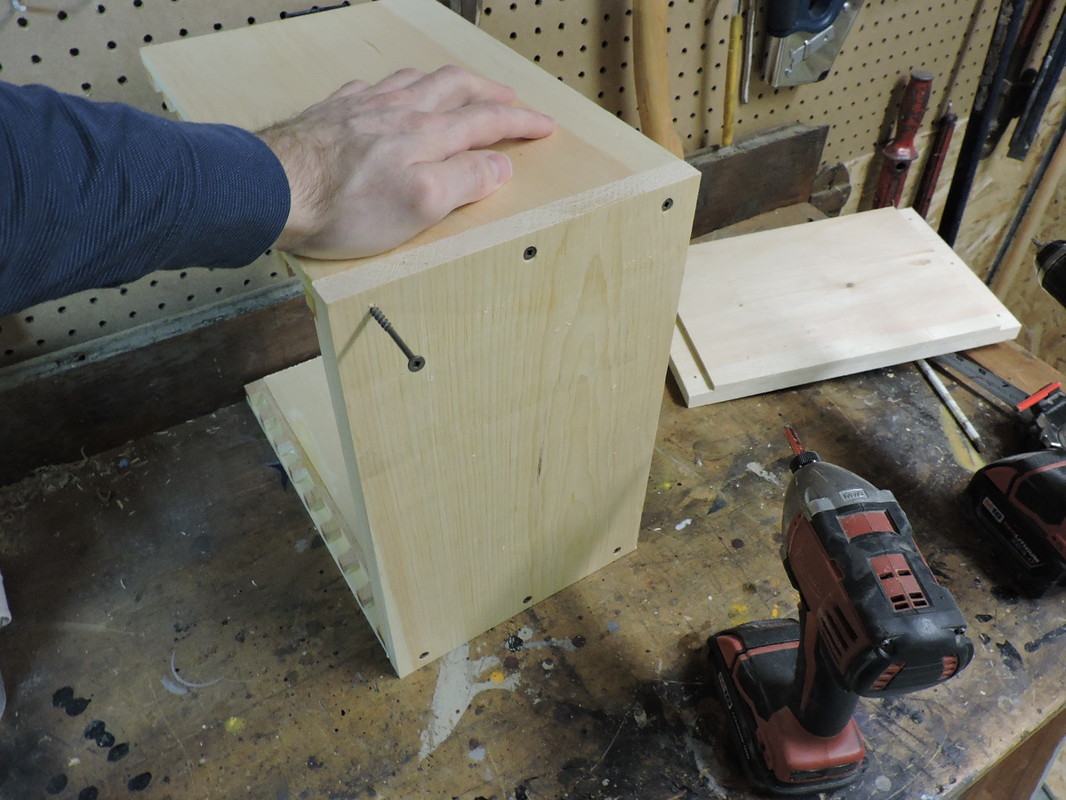
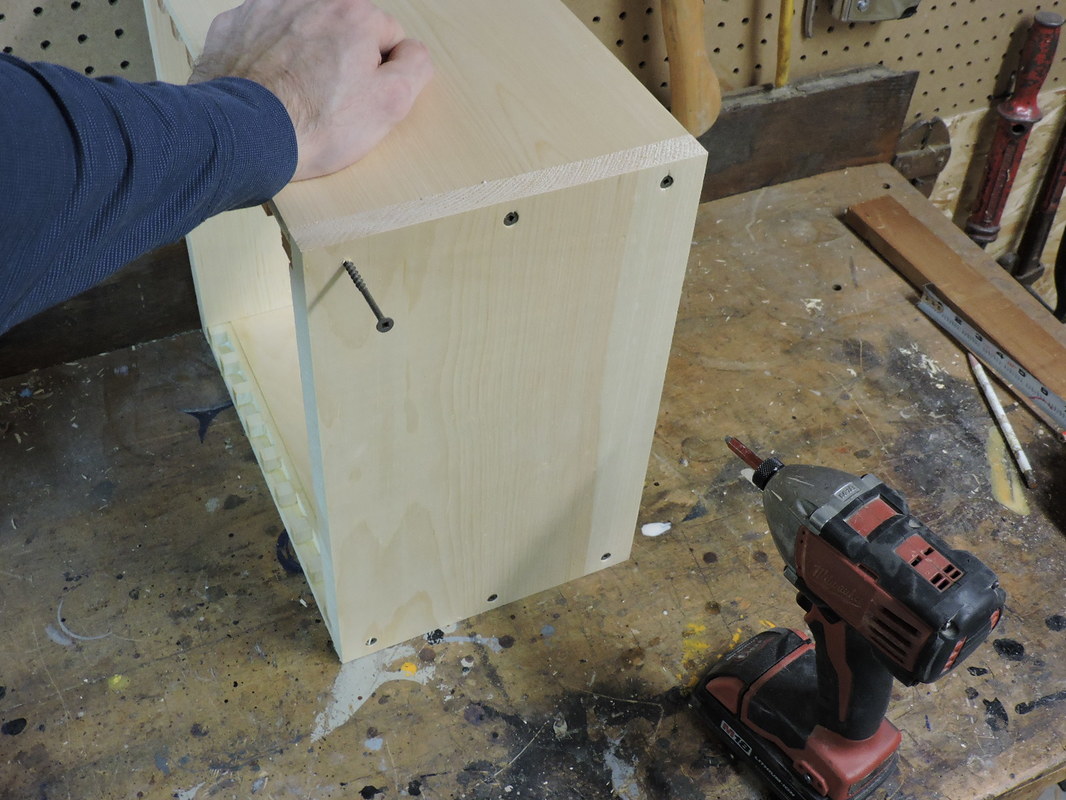
Flip the box 180 degrees and install a 2.5" screw in the middle hole while applying top pressure. |
|
Install a 2.5" screw in the 3rd hole, again applying top pressure. |
|
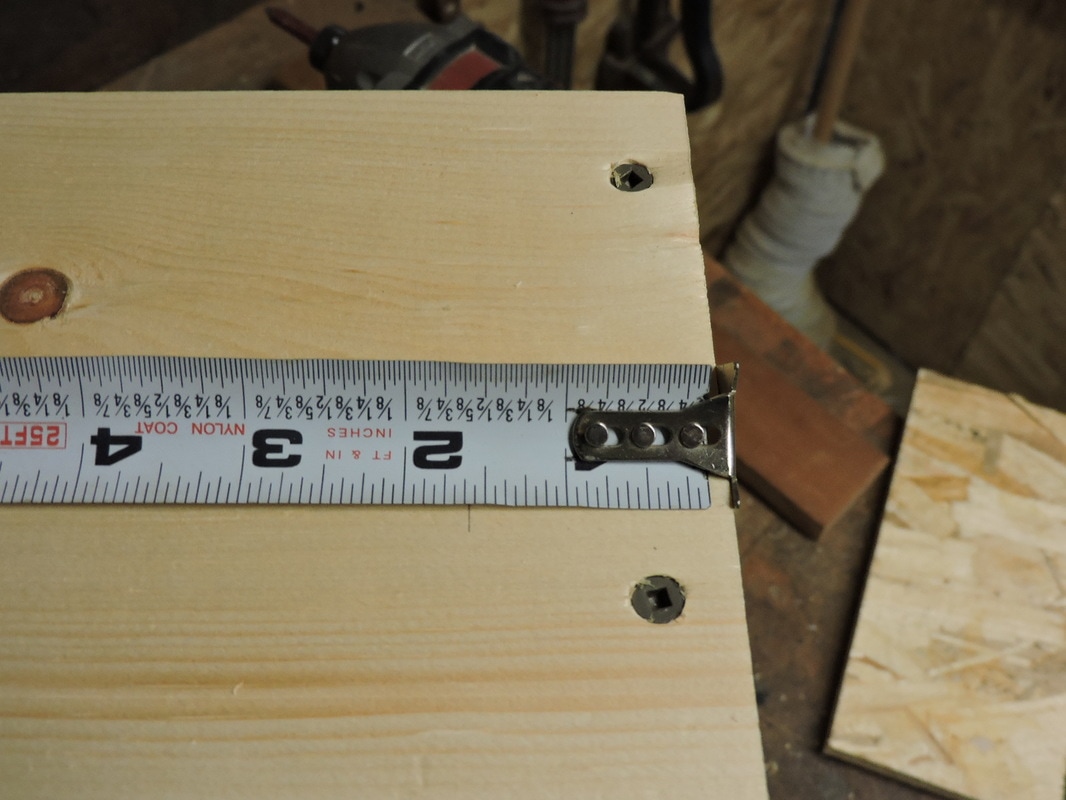
For installing the handles, measure 1-5/8" from the front edge of the side board and make a small pencil mark. |
|
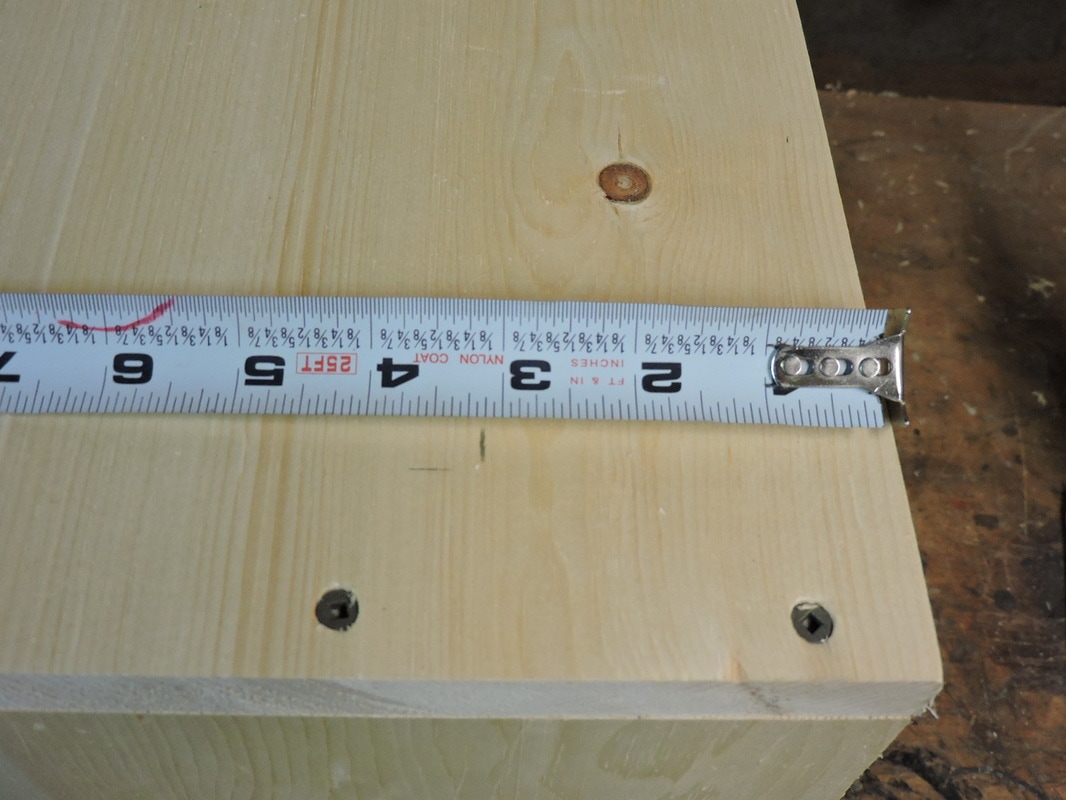
Then measure 3-1/8" from the top of the side board near the front and another near the back and make a small pencil mark. |
|
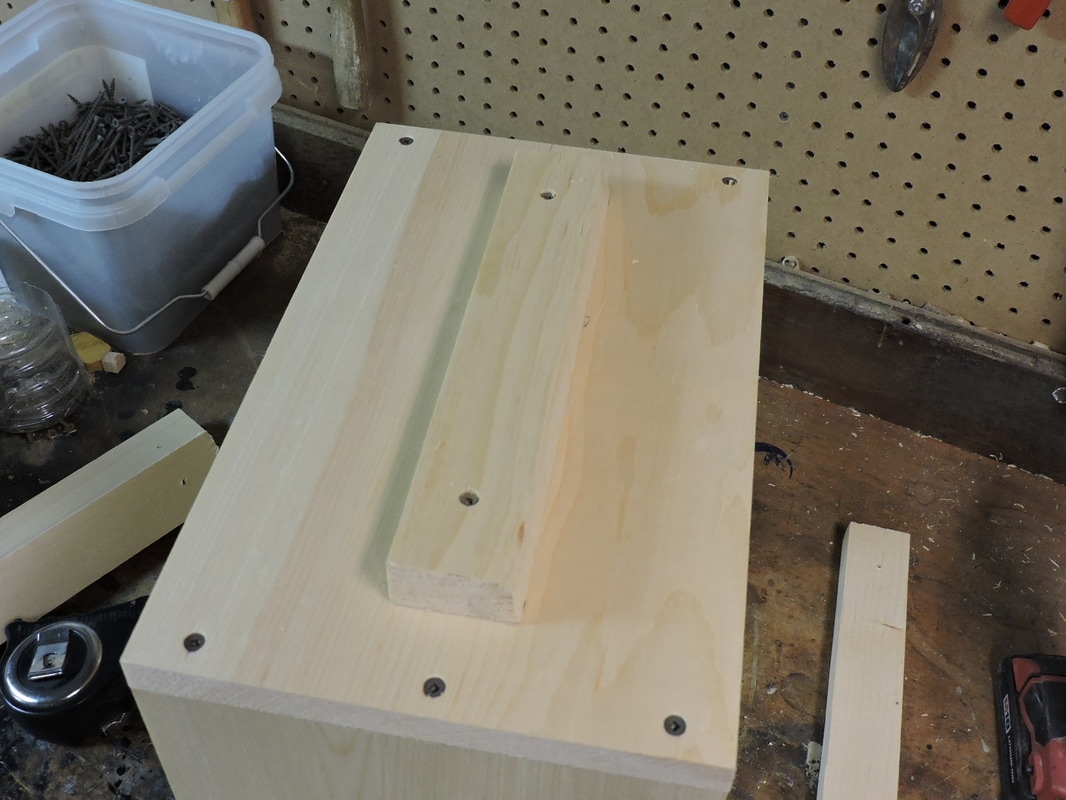
Locate the handle with the tapered side on the top side of the box. Install with 2 1.5" screws. Glue can also be used for extra strength. Repeat the above 2 steps for the opposite side. |
|
Box complete |